Introduction
Source control in this day in age is necessary in all companies and all environments. Even if you are just coding on a personal level, ensuring all your code is source controlled will allow you to refer back to this code at any point.
The most popular free source control is git. Its easy to use and free so even better. In comes Microsoft Azure. Microsoft Azure utilizes git in their source control, but provide you with a really feature rich wrapper over the top to allow you to really make the most of it.
Microsoft Azure Devops provides a free version as well as a paid version. The free version is more than suitable for any personal user, so is well worth using. This is the source control that I use at work as well as personal use and all my code gets saved in it.
When you use a source control tool, to really make it a seamless experience you need to have a code IDE that you can write your code in and upload to your source control in turn. There are plenty of great IDEs for many languages. For Python there is less to use, if I’m honest I haven’t used many. I went from the python shell straight to pyCharm and I haven’t moved from it since.
pyCharm allows you to connect to git source control and upload your code from the IDE. It provides a Dark Theme which is obviously the most important thing to look for! It is also a simple to use IDE.
Configure source control
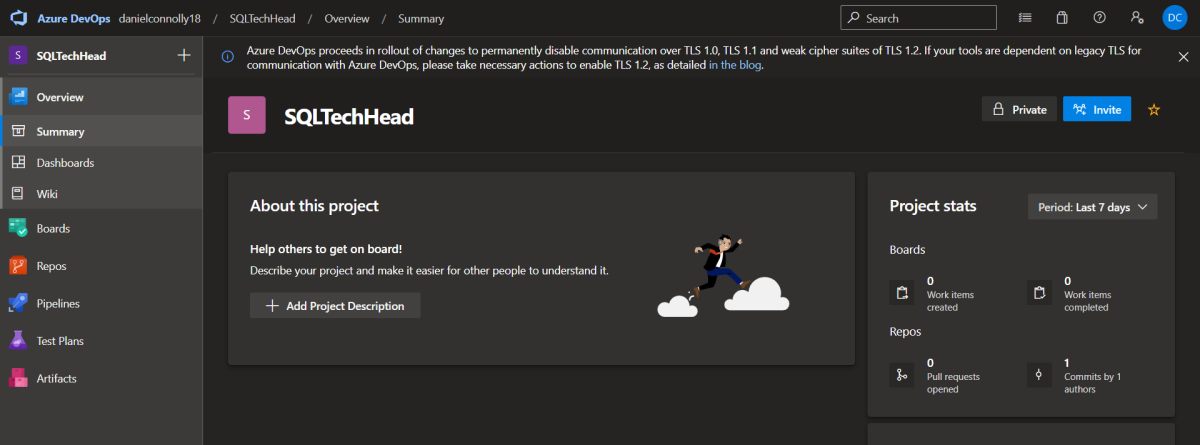
Navigate to http://dev.azure.com/ and setup an account to get started with setting up your Azure Devops account.
Fill in all your details when asked until you get to your source control screen.
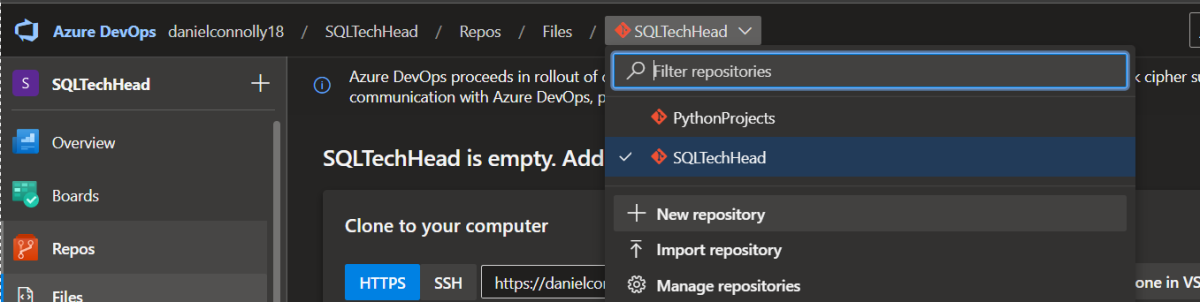
With Azure Devops you have a basic hierarchy of:
- Organization – As it sounds your main organization. You can set all settings and security at an organization level
- Project – You can have multiple projects under an organization, you can also refine settings and security to a project level
- Repository – You can have multiple repositories under a project. This will be where your code is held.
You can either use the repo that was created for you or you can create extra repos as in the below screenshot
Now that you have your Azure Devops setup you will need to install git on your machine to carry out the next step. Navigate to the below link and install the latest version of git.
Git – Downloads (git-scm.com)
There will be a lot of prompts during the setup phase. Take all the defaults. Except when it asks you where you want to use git from. Ensure you select use it from the command line, this makes it a lot easier to run git.
Go back to Azure devops and find the clone button
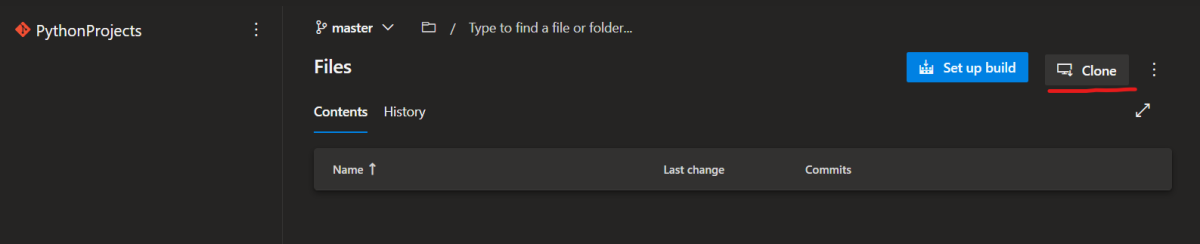
This will provide you with a url that you can then clone onto your local machine
Open up a command line window and navigate to/ create a directory you want to store your projects in and run the below code, replacing url with the url from azure devops.
1
git clone url
Installing the IDE
Pycharm is my IDE of choice. It allows for easy use as well as having virtual environment functionality making each project siloed off from each other.
To install follow the below link and choose the community edition.
Download PyCharm: Python IDE for Professional Developers by JetBrains
Once installed this will be your welcome screen.
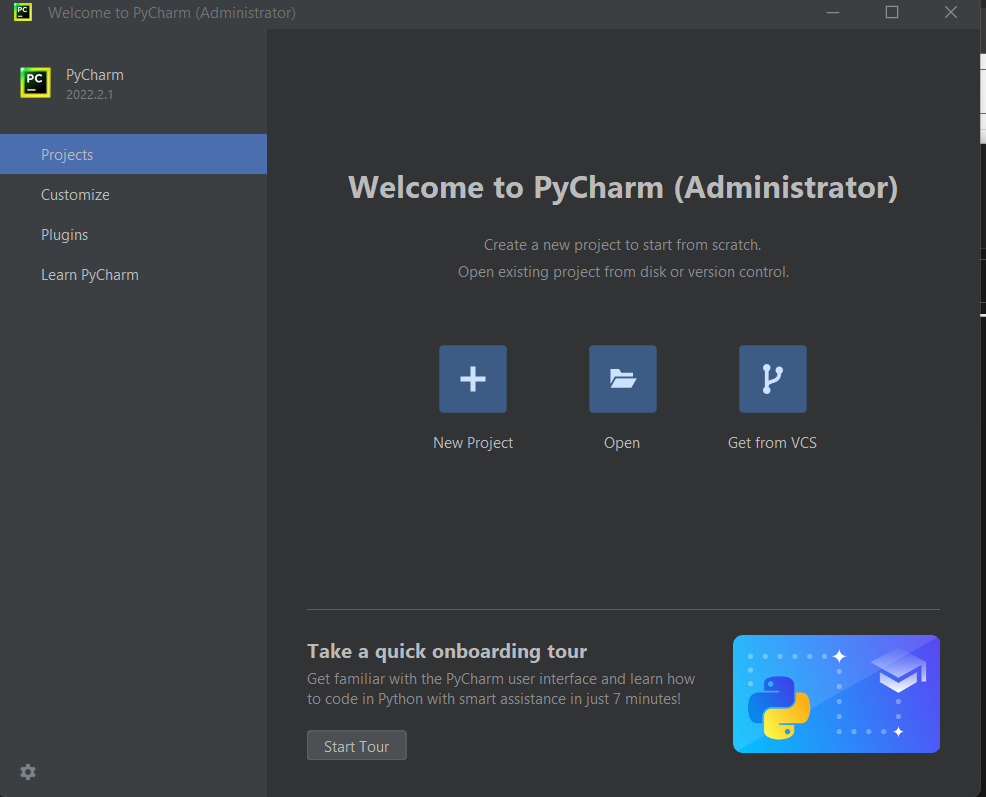
Click on New project to get started.
Ensure you create the new project in the folder you have just synced to your source control.
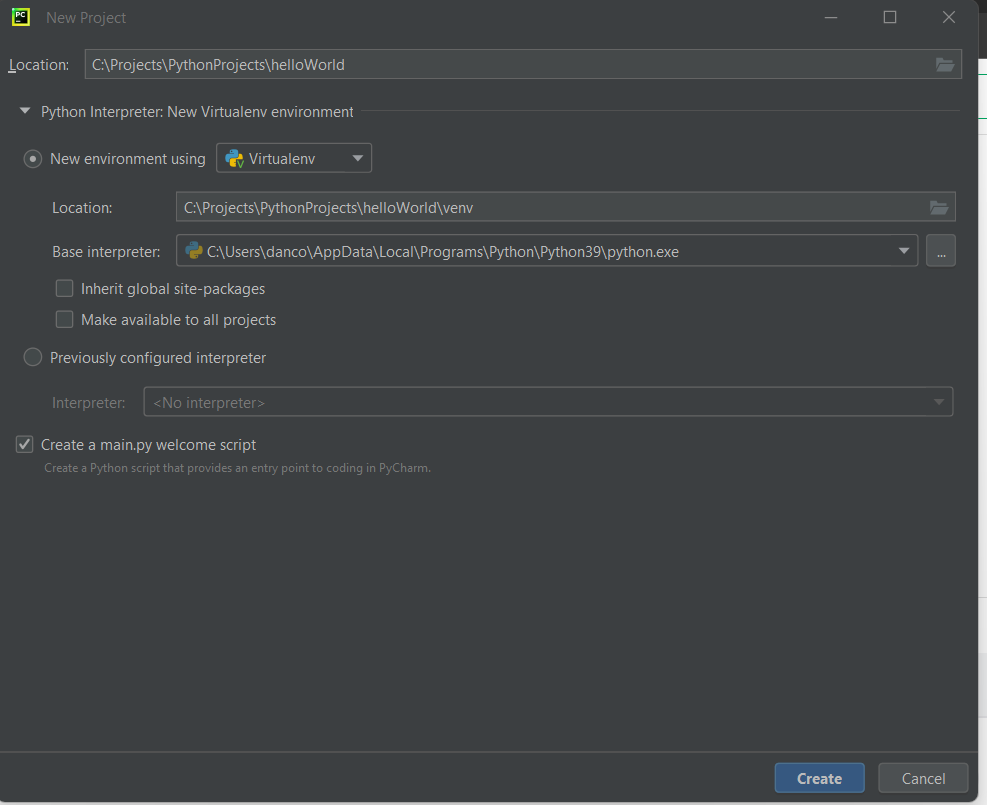
Then select Create.
This will be your project window.
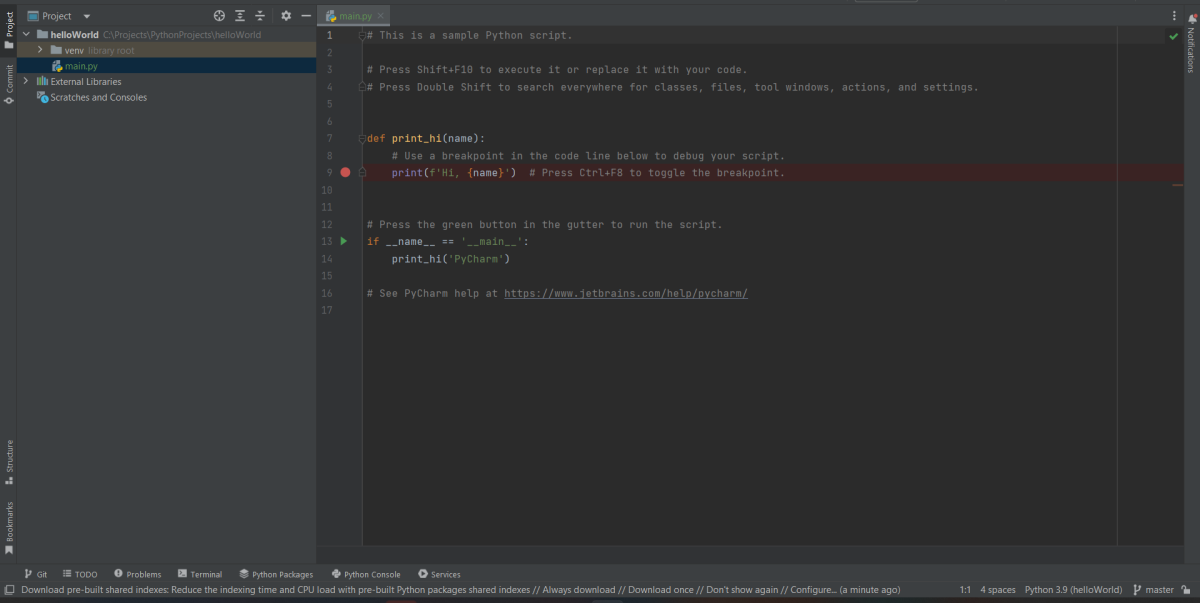
In the bottom left select git to open your source control tab.
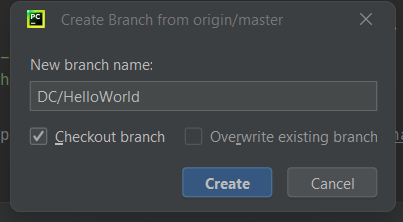
I wont give you a tutorial on source control, but the basics is the master branch is your main branch. You should always create a new branch and merge into the master branch via a pull request.
So go ahead and create a new branch, i like to prefix mine with my initials.
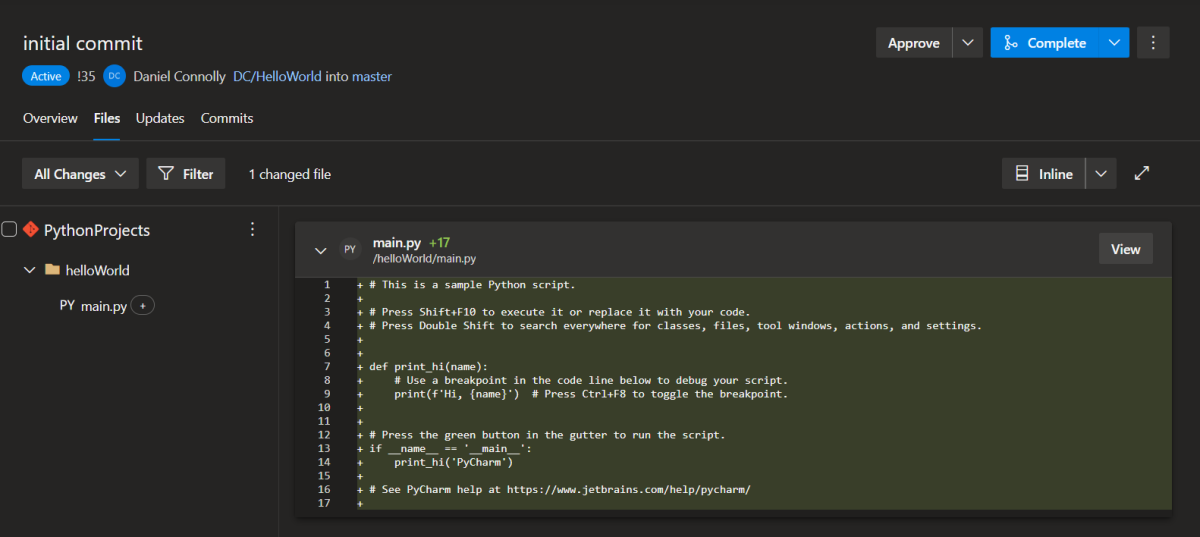
Next select the Commit tab to see the changes that have been made.
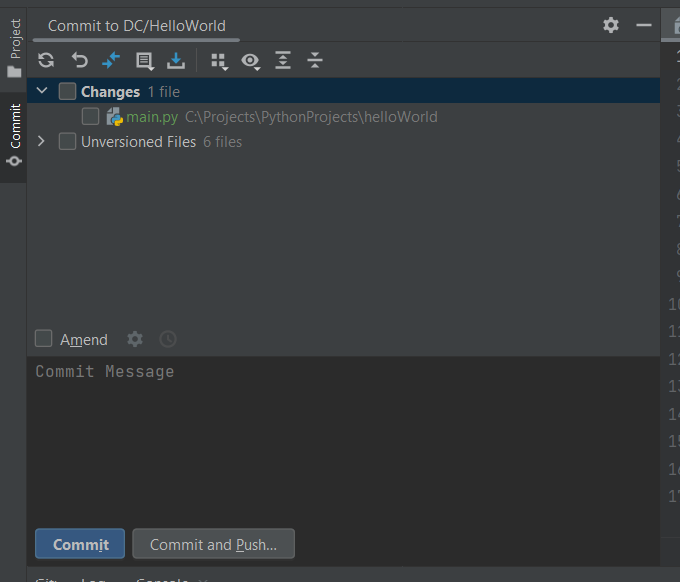
The main.py file is the file that we have created locally. To push to our source control select the checkbox by the changes value, write a commit message, and select commit and push.
Enter the requested details for your source control and the push should be successful.
Head back to Azure Devops and you should see your new branch in the portal.
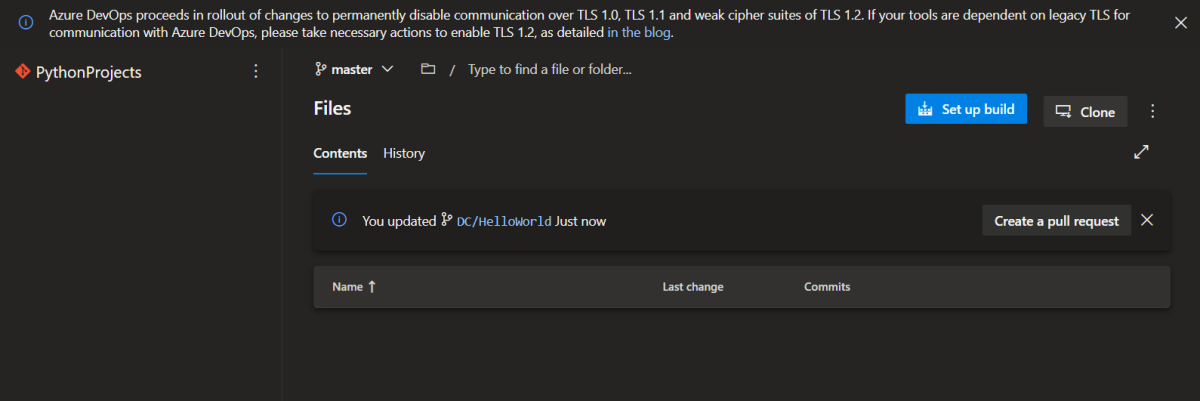
Select Create a Pull Request, then select create.
You’ll then see your changed file in source control, easy peasy.