Introduction
Databricks provides a really rich and functional API to be able to automate 99% of tasks with, coined with being available on all major cloud platforms it really puts itself on the map for easy integration. That API has been extended by many third party technologies to provide the experience people are used to. One example of this is Terraform. A leader in its field at IAC or Infrastructure As Code. They provide a databricks Provider to enable admins to deploy their Databricks instance via Terraform code.
Terraform also provides a provider for AzureRM, so it is possible to automate your Azure objects to be created by Terraform too, however sometimes you will use another technology such as ARM or Bicep for your Azure and then Terraform for your Databricks. This is the design we will be demoing in this blog post.
Setting up your local machine
- Navigate to the below link and download Terraform for windows
https://developer.hashicorp.com/terraform/downloads
- Extract the executable from the downloaded zip file
- Create a new folder on C Drive called Terraform and copy the executable into it.
- Add C:\Terraform to your PATH environment variable. This will allow you to reference it without using the full path.
Setting up Azure Objects
Databricks Instance
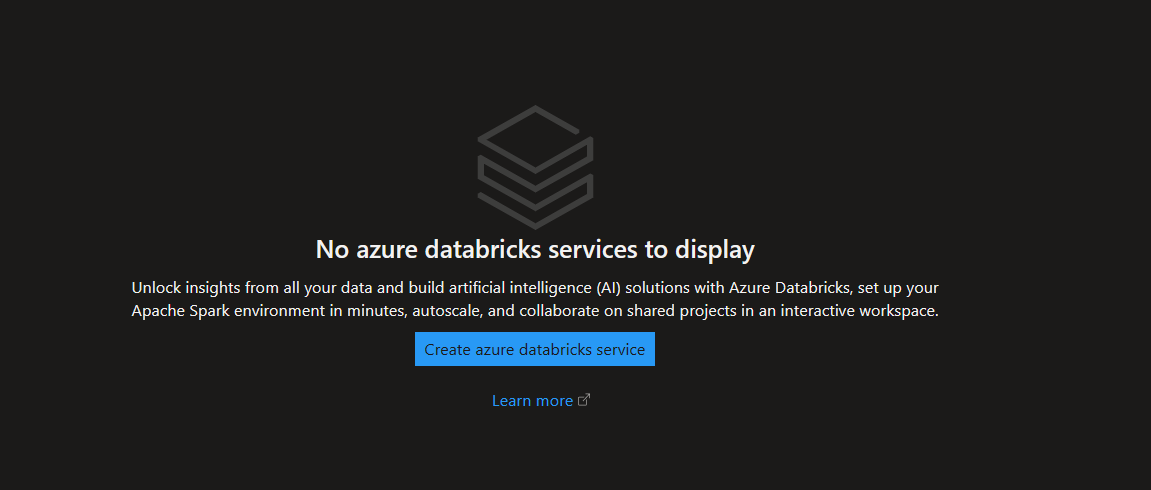
- In your Azure Dashboard search for Azure Databricks, then select Create Azure Databricks Service.
- Now in the configuration page create a new resource group called “databricksterraform” and to keep things easy name the instance the same.
- Ensure you select Premium Trial. Then select create

- Once done, go to resource and then launch the workspace and have a look around
Storage Account
- To store our terraform state file we need a Storage Account. Search Storage Accounts in your Azure Portal and select create
- Select our databricksterraform resource group and call the storage account the same again.
- We can just use a standard one here so as to not incur too much cost
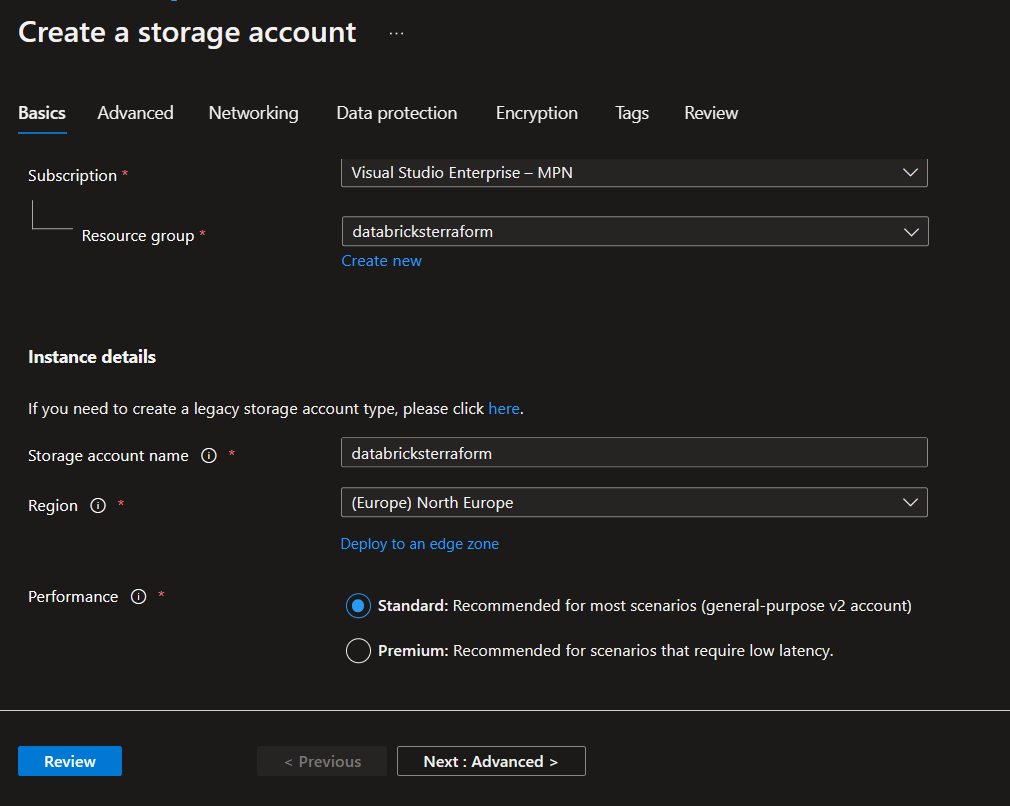
- Select Review and then create to complete
- Next go the resource and open up the storage account.
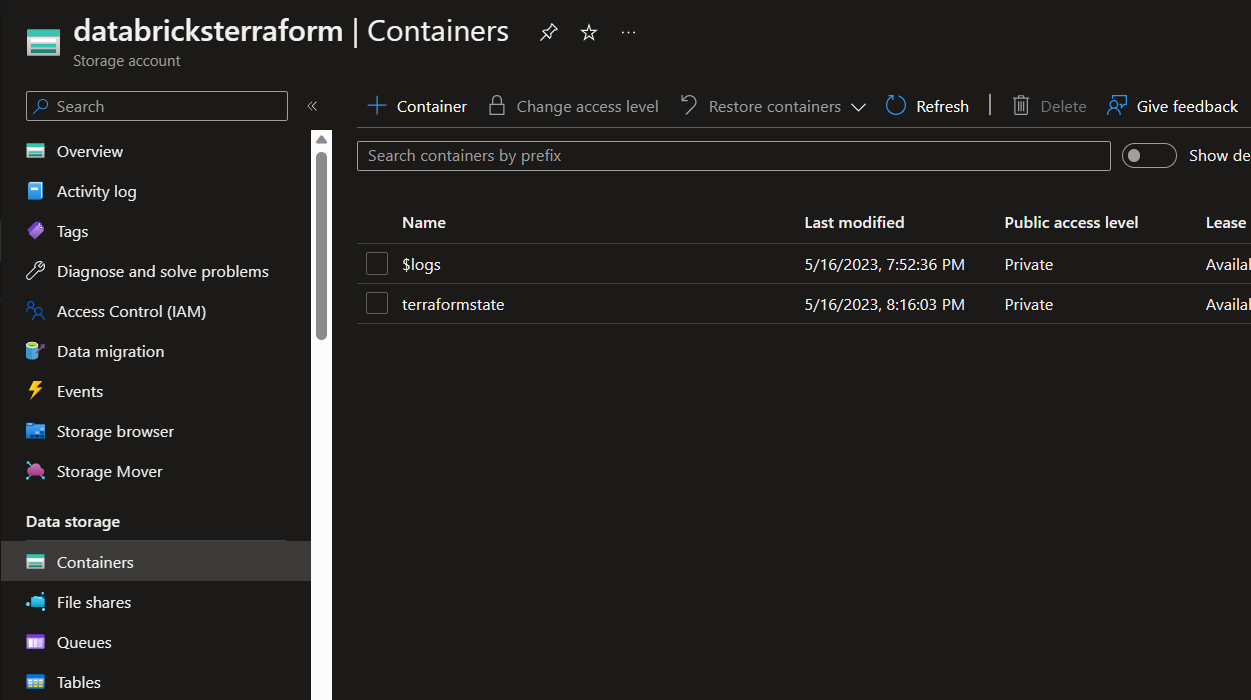
- Create a container called terraformstate so your storage account looks like the below
Getting started with Terraform
I would recommend using Visual Studio Code to run and store your Terraform code. Its easy to write code and easy to run terminal sessions.
- Create a new folder on your local machine and call it DatabricksTerraform and then open it in Visual Studio Code.
Create azure backend and connect to databricks instance
- Create a new file called Main.tf. This is the entry point for Terraform. This will usually be where you define what providers to use as well as the definition for your state file configuration
1
2
3
4
5
6
7
8
9
10
11
12
13
14
15
16
17
18
19
20
21
22
23
terraform {
  required_providers {
    azurerm = {
      source  = "hashicorp/azurerm"
    }
    databricks = {
      source = "databricks/databricks"
      version = "1.15.0"
    }
  }
  backend "azurerm" {
    resource_group_name  = "databricksterraform"
    storage_account_name = "databricksterraform"
    container_name       = "terraformstate"
    key                  = "terraform.tfstate"
    access_key           = ""
  }
}

provider "databricks" {
    host  = ""
    token = ""
}
- In the above code we:
- Define required providers which in our case is Databricks and AzureRM.
- We then define a backend which will tell Terraform where to store its state file
- We then define the databricks provider config, which is how terraform will connect to databricks. As a note in a production environment you would not be using a token to do this. You would most likely be using a service principal. But for demo purposes this is fine.
- Next we need to fill in the variables that are empty
- access_key - Grab an access key from your Storage Account. In the storage account menu go to Security + Networking > Access Keys and grab one of the access keys provided.
- host - Open your databricks instance the host will be the url when it opens. Such as https://xxxxxx.azuredatabricks.net
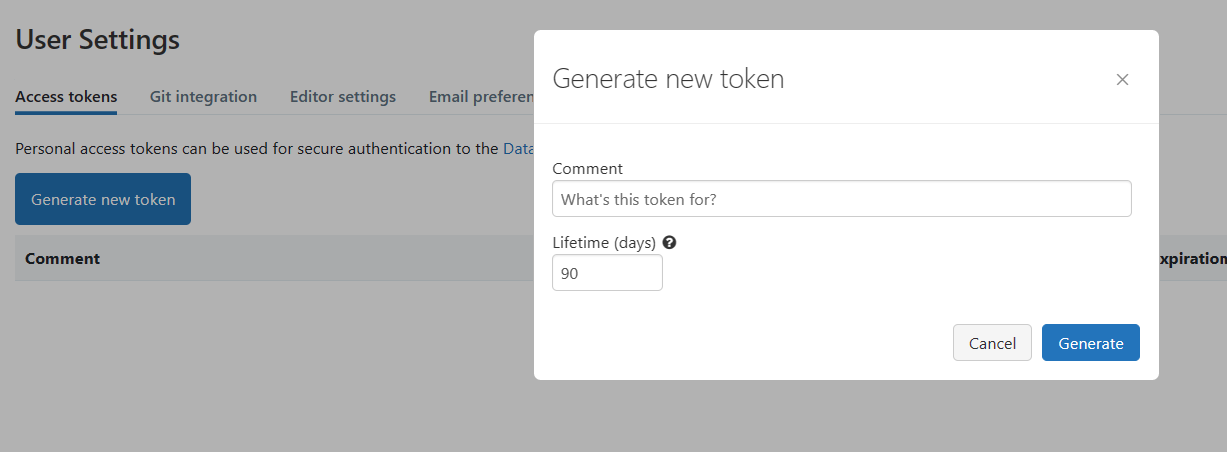
- token - In databricks click your email in the top right. Select User settings. Then under access token select Generate token. Set a comment and then when the token appears copy it into your config
- Now we are ready to initialize our Terraform. Open a terminal window within Visual Studio code and run the below
1
terraform init
- If successful your output should look like below
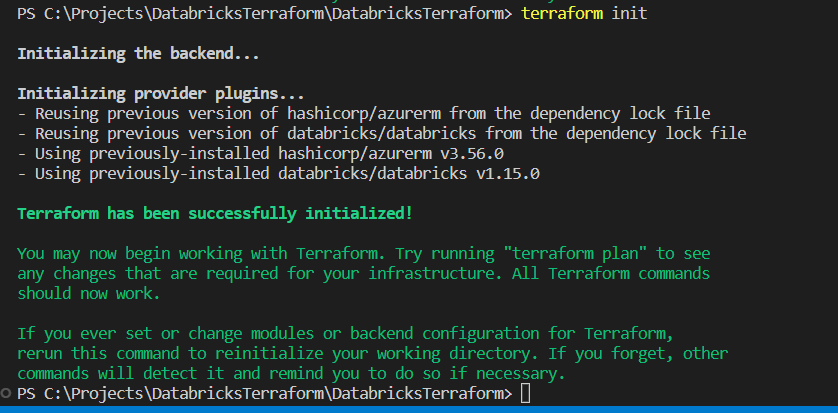
- Congratulations you have configured your Terraform to connect to Databricks and store its state in Azure.
Creating your first object
Lets finish off by creating our first object just to prove it works. Lets create a workspace directory.
- Create a new file in your directory called Directories.tf.
- Put the below code into your file
1
2
3
resource "databricks_directory" "MyFirstDatabricksDirectory" {
  path = "/MyFirstDatabricksDirectory"
}
- In this code it can be broken down into the below:
- Resource - Maps to a resource in the databricks provider
- Resource Name - Can be anything you like to describe the specific resource, must be unique within your project
- Path - a property available to be set within the resource. This specific one allows the resource to create a specific folder in databricks.
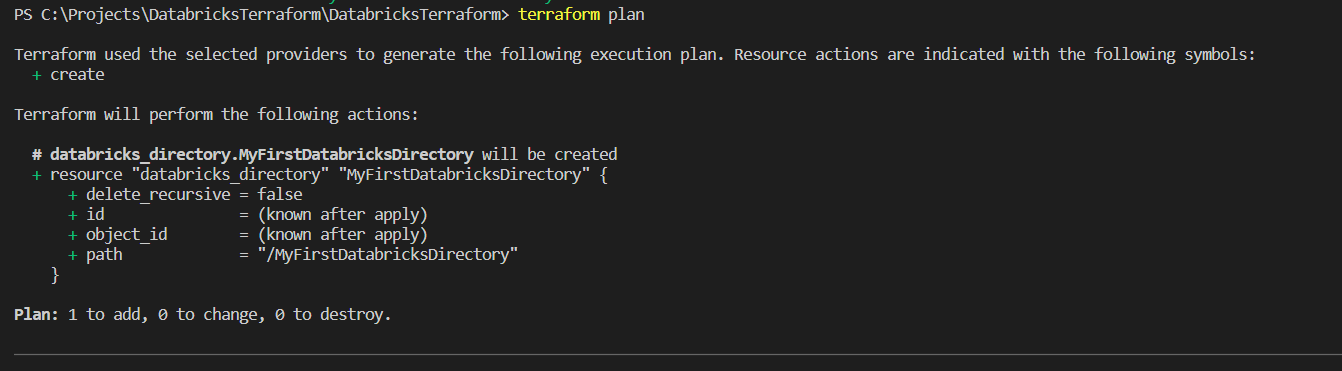
- We’re ready to deploy our first object. In your terminal area run the below to create a terraform plan
1
terraform plan
- You should see something similar to the below. This shows you exactly what is going to be created.
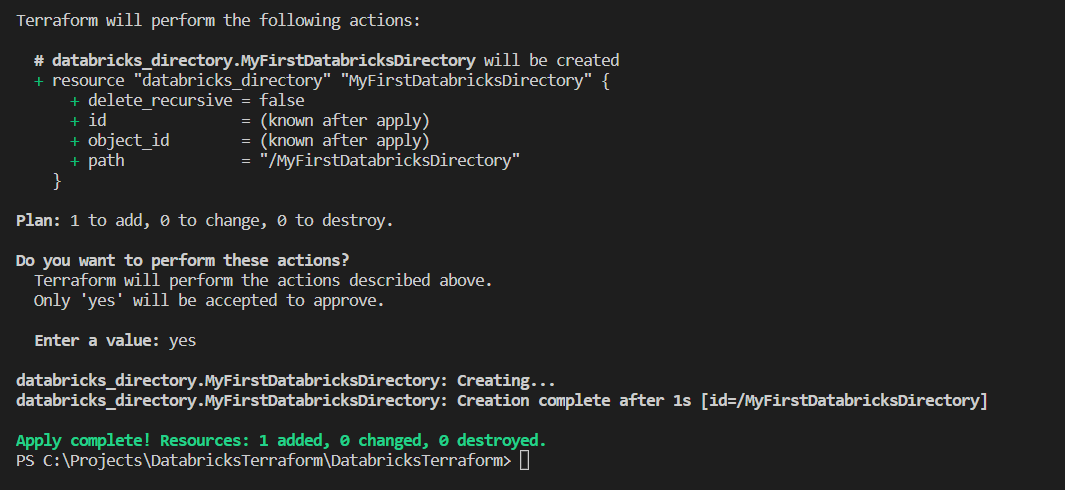
- Now to finish off run the below to apply the change to your instance. Ensure you confirm by typing yes when prompted
1
terraform apply
- Have a look at the output it will give you all the information you need to know it has succeeded
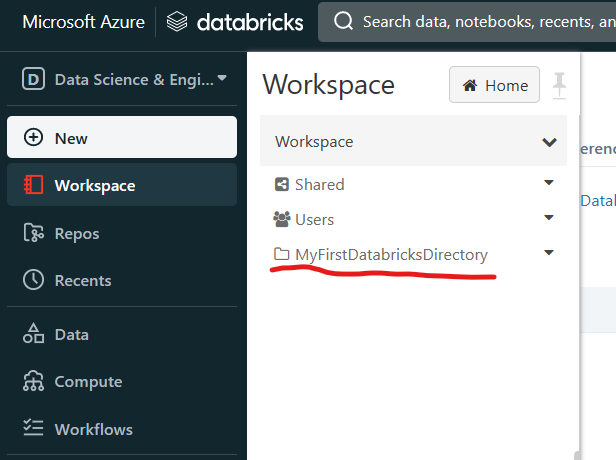
- To verify open up your databricks workspace and select Workspace from the left menu. You will see your brand new folder. Hooray!