Introduction
This will be the first in a series of posts, in this series of posts we will be learning how to create a Home Brewing dashboard using Pythons most popular GUI functionality called Tkinter.
One of my favourite hobbies is brewing beer, now to date i’ve only made 2 palatable batches but the process is really enjoyable! I decided i needed to level up my setup to try and improve my organization and my recipe logging. I used this as a chance to kill 2 birds with 1 stone:
- Level up my brewing skills as i strive to become a master brewer one day….
- Learn python along the way.
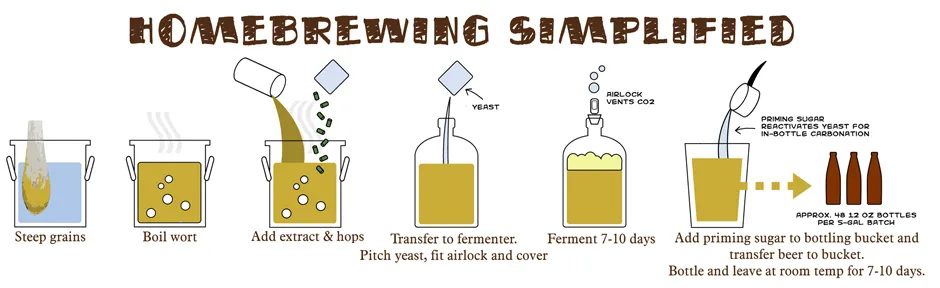
For a quick bit of context before moving on, to brew beer you need 4 main ingredients:
- Malts – This is used for the sugar
- Hops – This is used for taste
- Yeast – This is used to convert the malts/sugars into alcohol
- Additives – These are used mostly to change flavour of the water dependent on your mineral constitution in your area
Getting Started
Now lets get into tkinter, first thing we want to test is can we create a really bob basic GUI that can handle a recipe list of sorts for our main ingredients we need. To start with lets import tkinter into our window and just create our window. Copy the below into you python ide of choice. I recommend pyCharm.
1
2
3
4
5
6
7
8
9
10
11
from tkinter import *
from tkinter.ttk import *

# Creates the GUI window base
root = Tk()

# Defines the size of the window
root.geometry('1050x600')

# Runs the window code and tells it to continue running
root.mainloop()
In this code we:
- Import Tkinter into our session
- Create the root window
- Set the root window size
- Run main loop, this tells python to create the window and keep it open continuously
The result is a blank window appears
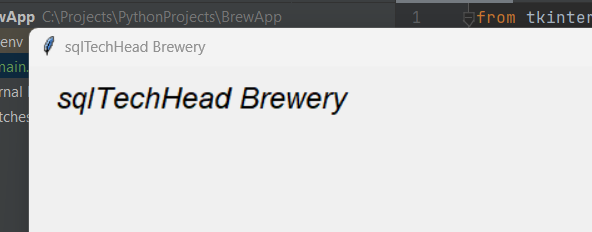
Next lets add some personalisation. We want our application window to have a name and there to be a title with our brewery name on. Ensure root.mainloop() is always the last line paste the below above.
1
2
3
4
5
6
# Sets a title for the window
root.title("sqlTechHead Brewery")

# Creates a label and assigns it to the frame
# Title
Label(root, text="sqlTechHead Brewery", font=("arial italic", 18)).place(x=20, y=10)
We use the title property to set the title of the window. Then we use the Label function to show text. For any GUI function we will have to place it on the screen, .place allows us to place it in a specific by using an x and y axis.
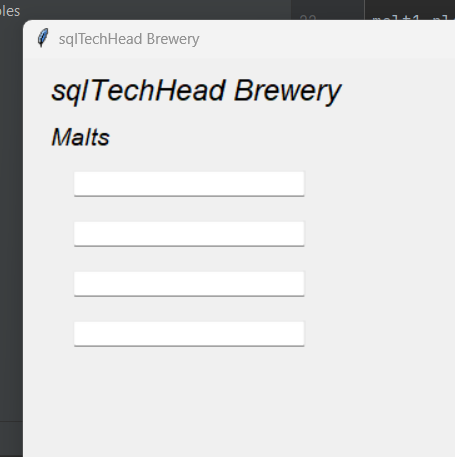
Next we want to have some entry boxes where we can enter the specific malts we will be including in our recipe. Copy the below, again ensuring the main loop is right at the bottom.
1
2
3
4
5
6
7
8
9
10
11
12
13
14
15
16
17
18
# Malt Subtitle
Label(root, text="Malts", font=("arial italic", 14)).place(x=20, y=50)

# Malt 1 entry
malt1 = Entry(root, width=30)
malt1.place(x=40, y=90)

# Malt 2 entry
malt2 = Entry(root, width=30)
malt2.place(x=40, y=130)

# Malt 3 entry
malt3 = Entry(root, width=30)
malt3.place(x=40, y=170)

# Malt 4 entry
malt4 = Entry(root, width=30)
malt4.place(x=40, y=210)
Alot is going on on this bit of code, we create another label to work as a subtitle, again using the x and y axis to position.
We then add 4 different sections and create an Entry box, now we have to assign the entry box to a variable, as at some point when we come to enter this data somewhere we will need to decipher the data from the entry box
Next we want to add the remainder entry boxes for our other ingredients. Enter the below block below the last section. This will create 3 new columns of entry boxes exactly as we did in the step before.
1
2
3
4
5
6
7
8
9
10
11
12
13
14
15
16
17
18
19
20
21
22
23
24
25
26
27
28
29
30
31
32
33
34
35
36
37
38
39
40
41
42
43
44
# Hops Subtitle
Label(root, text="Hops", font=("arial italic", 14)).place(x=300, y=50)

# Hops 1 entry
hops1 = Entry(root, width=30)
hops1.place(x=300, y=90)

# Hops 2 entry
hops2 = Entry(root, width=30)
hops2.place(x=300, y=130)

# Hops 3 entry
hops3 = Entry(root, width=30)
hops3.place(x=300, y=170)

# Hops 4 entry
hops4 = Entry(root, width=30)
hops4.place(x=300, y=210)

# Additives Subtitle
Label(root, text="Additives", font=("arial italic", 14)).place(x=560, y=50)

# Additives 1 entry
additives1 = Entry(root, width=30)
additives1.place(x=560, y=90)

# Additives 2 entry
additives2 = Entry(root, width=30)
additives2.place(x=560, y=130)

# Additives 3 entry
additives2 = Entry(root, width=30)
additives2.place(x=560, y=170)

# Additives 4 entry
additives2 = Entry(root, width=30)
additives2.place(x=560, y=210)

# Yeast Subtitle
Label(root, text="Yeast", font=("arial italic", 14)).place(x=820, y=50)

# Yeast 1 entry
yeast1 = Entry(root, width=30)
yeast1.place(x=820, y=90)
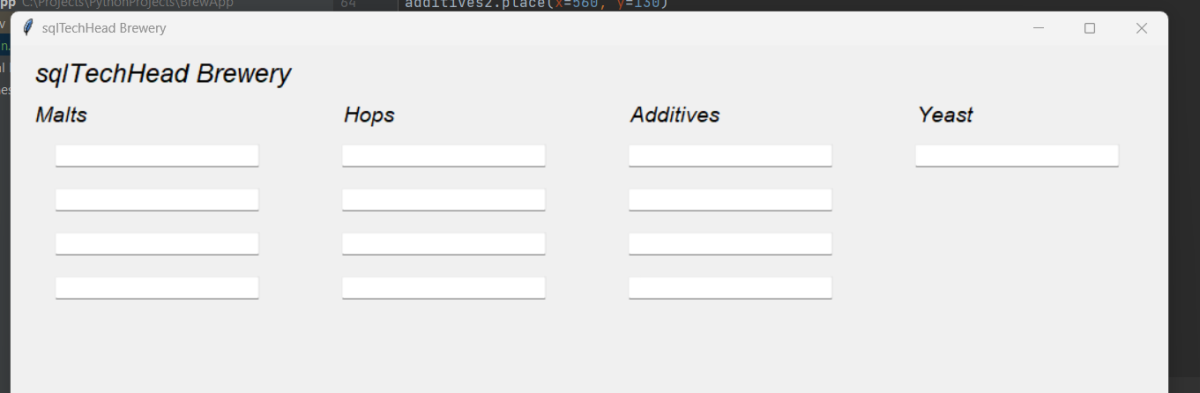
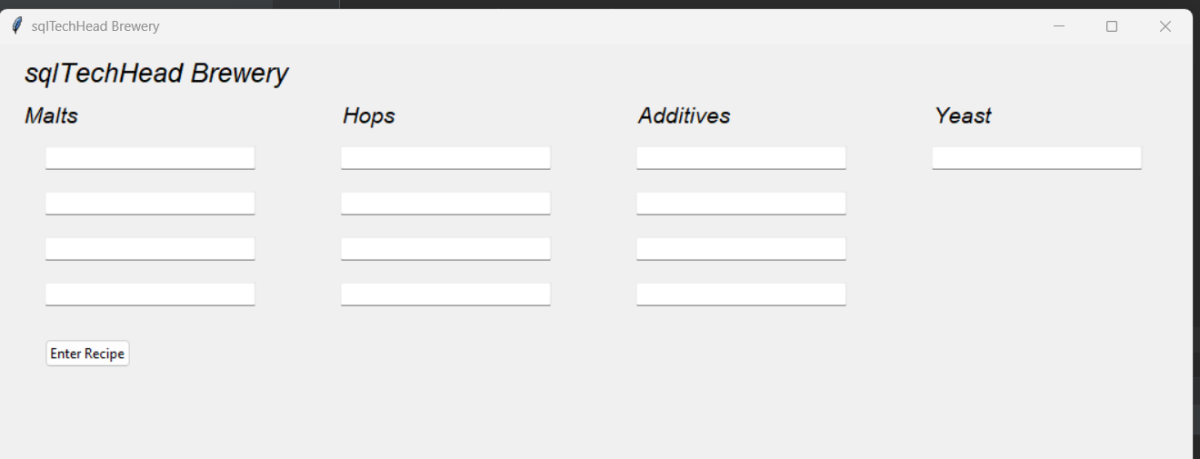
Last step is to create a button which eventually can be used to enter this data somewhere. Enter the below after the last section.
1
2
enter_recipe = Button(root, text="Enter Recipe")
enter_recipe.place(x=40, y=260)
Now we have the button, we assign a variable to this as well, as at some point we will want to have actions assigned and having a variable name makes it handy for more complications implementations.
Our final GUI will look like the below. Super basic, but really shows the use of some of the functions and shows you how you might start to create more complicated GUIs
Full code can also be found below
1
2
3
4
5
6
7
8
9
10
11
12
13
14
15
16
17
18
19
20
21
22
23
24
25
26
27
28
29
30
31
32
33
34
35
36
37
38
39
40
41
42
43
44
45
46
47
48
49
50
51
52
53
54
55
56
57
58
59
60
61
62
63
64
65
66
67
68
69
70
71
72
73
74
75
76
77
78
79
80
81
82
83
84
85
from tkinter import *
from tkinter.ttk import *

# Creates the GUI window base
root = Tk()

# Defines the size of the window
root.geometry('1050x600')

# Sets a title for the window
root.title("sqlTechHead Brewery")

# Creates a label and assigns it to the frame
# Title
Label(root, text="sqlTechHead Brewery", font=("arial italic", 18)).place(x=20, y=10)

# Malt Subtitle
Label(root, text="Malts", font=("arial italic", 14)).place(x=20, y=50)

# Malt 1 entry
malt1 = Entry(root, width=30)
malt1.place(x=40, y=90)

# Malt 2 entry
malt2 = Entry(root, width=30)
malt2.place(x=40, y=130)

# Malt 3 entry
malt3 = Entry(root, width=30)
malt3.place(x=40, y=170)

# Malt 4 entry
malt4 = Entry(root, width=30)
malt4.place(x=40, y=210)

# Hops Subtitle
Label(root, text="Hops", font=("arial italic", 14)).place(x=300, y=50)

# Hops 1 entry
hops1 = Entry(root, width=30)
hops1.place(x=300, y=90)

# Hops 2 entry
hops2 = Entry(root, width=30)
hops2.place(x=300, y=130)

# Hops 3 entry
hops3 = Entry(root, width=30)
hops3.place(x=300, y=170)

# Hops 4 entry
hops4 = Entry(root, width=30)
hops4.place(x=300, y=210)

# Additives Subtitle
Label(root, text="Additives", font=("arial italic", 14)).place(x=560, y=50)

# Additives 1 entry
additives1 = Entry(root, width=30)
additives1.place(x=560, y=90)

# Additives 2 entry
additives2 = Entry(root, width=30)
additives2.place(x=560, y=130)

# Additives 3 entry
additives2 = Entry(root, width=30)
additives2.place(x=560, y=170)

# Additives 4 entry
additives2 = Entry(root, width=30)
additives2.place(x=560, y=210)

# Yeast Subtitle
Label(root, text="Yeast", font=("arial italic", 14)).place(x=820, y=50)

# Yeast 1 entry
yeast1 = Entry(root, width=30)
yeast1.place(x=820, y=90)

enter_recipe = Button(root, text="Enter Recipe")
enter_recipe.place(x=40, y=260)

# Runs the window code and tells it to continue running
root.mainloop()